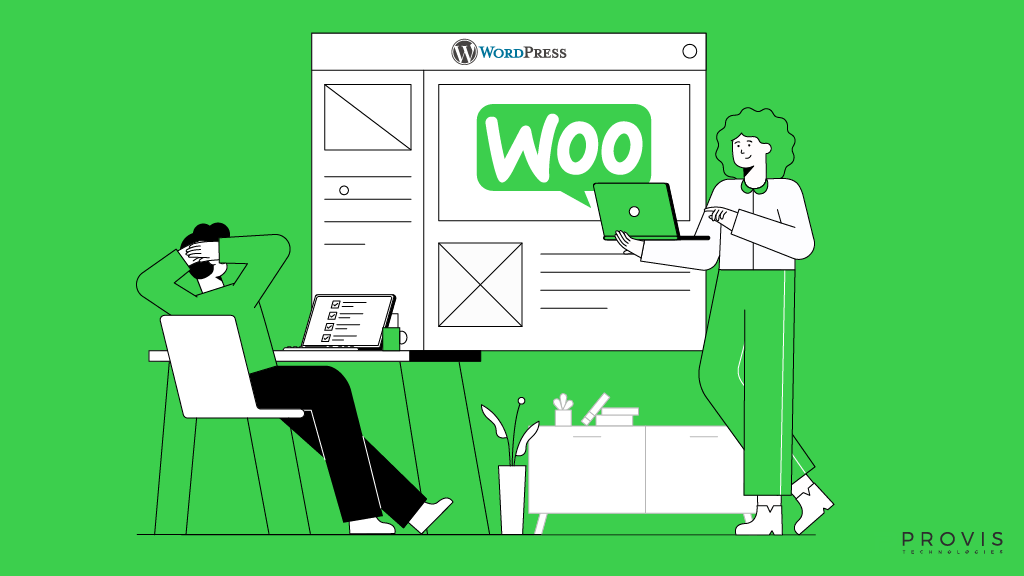
As you already know, WooCommerce is a popular plugin that turns your WordPress website into a fully functional e-commerce platform. It’s versatile, user-friendly, and perfect for anyone who wants to sell products or services online. But you might not know that “as of September 2024, out of the over four million live stores running on WooCommerce worldwide, roughly 246,800 were home and garden stores. Apparel was the second-most popular category, as 231.201 apparel online shops run on the open-source platform WooCommerce. Business and industrial ranked third, at 171,065 online stores”, says Statista. These figures make it clear that no matter what you do, WooCommerce can work for you. So, let’s learn install WooCommerce in WordPress in a proper, simple step-by-step manner.
We have also compared WooCommerce with other platforms like WooCommerce vs Shopify, etc. You can go through them here.
How to Setup WooCommerce in WordPress? | A Step-by-Step Guide
Step 1
Install WordPress
You need a WordPress website before you can set up your WooCommerce store. If you haven’t set one up yet, here’s a quick overview of how to make a WordPress site:
Get a hosting provider
Get reliable hosting that supports WordPress, like Bluehost or SiteGround.
Install WordPress
The good thing is most hosting providers have a one-click WordPress installation feature. You can use it to get started quickly.
Select a theme
Pick a WordPress theme that aligns with your business. Don’t overthink about themes at this point because WooCommerce can let you customize the store.
Once your WordPress site is ready, you are ready to install WooCommerce. Do it!
Step 2
WooCommerce Plugin Installation – Install & Activate WooCommerce
WooCommerce is a free plugin available in the WordPress plugin directory. Follow these steps to do WooCommerce plugin installation:
- Log in to your WordPress dashboard.
- Go to Plugins > Add New.
- In the search bar, type “WooCommerce.”
- Click Install Now next to the WooCommerce plugin.
- Once installed, click Activate to enable it on your site.
After activation, WooCommerce will guide you through a setup wizard to configure essential settings.
Step 3
WooCommerce Store Configuration – Complete the WooCommerce Setup Wizard
The setup wizard simplifies the process of configuring WooCommerce. Follow these steps to complete store configuration:
Store Details
Enter your store’s address, currency, and the types of products you plan to sell (physical, digital, or both).
Industry
Select the industry that best describes your store. This helps WooCommerce tailor recommendations.
Product Details
Mention whether you are selling products, subscriptions, or bookings.
Business Information
Answer questions about your business size and whether you are setting up a new store or migrating an existing one.
Features
Choose additional WooCommerce features like automated taxes or marketing tools. You can enable or disable these as needed.
Click Continue to finish the setup wizard. WooCommerce will now add essential pages like Shop, Cart, Checkout, and My Account to your site.
Step 4
WooCommerce Store Theme Selection
Your store’s design matters the most when it comes to creating a good first impression. WooCommerce is compatible with most WordPress themes, but you can also choose a theme specifically designed for e-commerce. Follow these points for theme selection.
- Go to Appearance and then Themes in your WordPress dashboard.
- Click Add New and search for themes like Storefront (WooCommerce’s official theme).
- Preview the theme to see how it looks with your store’s layout.
- Click Activate to apply the theme.
You can customize your theme further by going to Appearance > Customize.
Step 5
Product Addition – Time to Add Your Products
With your basic setup complete, it’s time to add products to your store. Follow these steps to create product listings:
- Go to Products > Add New in your WordPress dashboard.
- Enter the product’s name, description, and price.
- Add product categories and tags to help customers find items easily.
- Upload high-quality product images.
- If you sell physical products, set shipping details like weight and dimensions.
Click Publish once you are done. Repeat this process for each product you want to sell.
Step 6
Payment Setup – Set Up Payment Methods
WooCommerce supports many payment gateways, including PayPal, Stripe, and direct bank transfers. Here’s how to configure payment setup:
- Go to WooCommerce > Settings > Payments in your WordPress dashboard.
- Enable the payment methods you want to use by toggling the switches next to them.
- Click Set Up for each payment method and follow the instructions to configure it.
Test each payment method to make sure that things are working as they should.
Step 7
Shipping Configuration – Configure Shipping Options
If you are selling physical items, you must set up shipping details. WooCommerce makes this process super easy:
- Go to WooCommerce > Settings > Shipping.
- Create shipping zones based on where you plan to deliver products (e.g., local, national, or international).
- Assign shipping methods like flat rate, free shipping, or local pickup to each zone.
- Configure rates for each method, if applicable.
Save your changes and test the shipping options during checkout.
Step 8
Plugin Extensions – Install Essential Plugins
Try to add plugins that go well with WooCommerce to better your store’s functionality. Some popular options include:
Yoast SEO
It helps improve your store’s search engine rankings.
Mailchimp for WooCommerce
It assists with email marketing campaigns.
WooCommerce Stripe Payment Gateway
It provides additional payment options for customers.
Install and activate these plugins from the WordPress plugin directory, just like you did with WooCommerce.
Step 9
Customize Your Store
Now it’s time to make your store unique and add your brand voice to it. WooCommerce offers several customization options:
- Go to Appearance > Customize to modify your site’s layout, colors, and fonts.
- Add a logo and brand elements to make your store recognizable.
- Use widgets to add features like search bars, product filters, or category menus.
Take your time to give your store the design you have always thought of – just make sure it’s also user-friendly and visually appealing.
Step 10
Testing Store Functionality – Time to Test Your Store
Before you launch your newly built online store, you must thoroughly test every aspect as you don’t want to disappoint your customers, right?
- Navigate through your site as a customer.
- Test the checkout process with dummy orders.
- Check payment methods, shipping options, and email notifications.
- Fix any issues or errors you encounter.
Testing tells whether your store is market-ready or not.
Step 11
Launching the Store – Launch Your Store
Once everything is set up and tested, congratulations, the time has come to launch your store. Now, market well, make announcements on social media, email your contacts, and wherever you like – just use other marketing strategies to attract visitors.
Bottom Line
So, now you know how to set up WooCommerce in WordPress – isn’t it easy? Just follow this step-by-step guide and you will end up with a fully functional online store. Also, if you have any trouble while setting up your WooCommerce platform, connect with Provis Technologies. Provis Technologies provides expert WooCommerce development and support services. Connect to learn more!
FAQs
What is WooCommerce, and why should I use it?
WooCommerce is a free plugin that transforms your WordPress website into an online store. It’s easy to use and customizable.
Can I set up WooCommerce on my own without technical knowledge?
Yes! WooCommerce is beginner-friendly. However, for pro-level work, Provis Technologies offers expert WooCommerce development services to help you create a professional online store.
Do I need specific hosting for WooCommerce?
While WooCommerce works with most hosting providers – using optimized hosting gives better performance & reliability. Connect with Provis Technologies for WooCommerce store consultation. The first call is absolutely free!
Written By
Author's Picks
- The Power of Personalization: Enhancing User Experience in E-commerce
- 06/05/2024
- 10 Essential Tips for Launching Your E-commerce Journey with WooCommerce
- 08/05/2024
- An Advanced Guide to Face Recognition Technology
- 09/08/2024
Categories
- AI for Startups
- AI in Web Development
- AI Integration
- AI Platforms
- AI Prompt
- AI Tools
- AI Trading Software
- Android App
- Android vs iOS Development
- Angular
- API
- API Development
- App
- app development
- App Idea
- App User Feedback
- Application
- Artificial Intelligence
- Audit Services
- Automotive Industry
- Awards and Recognition
- Business Consulting
- Business Website
- Chatbots
- CRM
- CRM for Financial Advisors
- Custom CRM
- Custom SaaS
- Custom Website
- Customer Service
- dashboard design
- Developing a Mobile App
- Digital Business
- E-commerce
- EMR Integration
- Finance
- Financial Advisors
- Financial Advisors
- GIT
- Health Insurance
- iOS App
- iOS App Development
- IoT Mobile App Development
- IoT Platforms
- IT Audit Services
- IT Consulting
- IT Strategies
- Java Development
- Laravel
- Lean Canvas
- Learning Management System
- Logistics Apps
- Mobile App Development
- MVP
- Native App
- News Aggregator Site
- OTT
- Outsourcing IT
- Payment Gateway
- predictive analysis
- Product Launch Strategy
- Progressive Web App (PWA)
- Prototype
- Recommender Systems
- Ruby
- SaaS
- SaaS Application
- SaaS Business
- SaaS Company
- SaaS Development
- SaaS Product
- SaaS Project
- Sales Funnel
- SEO
- Shopping Cart
- Software Development
- SSL and TLS
- Startup Checklist
- Technology
- Tetradic Color Scheme
- UI/UX Design Company
- Unit Testing
- User Flow
- User Testing
- Web Development
- Web Performance Optimization
- website Maintenance Services
- Website Migration Service
- Website Speed Optimization
- WooCommerce
- WordPress


